Get Set Go...Lets Docker
- Sathish Kumar
- Jul 15, 2020
- 3 min read
Updated: Jan 15, 2021
Applications and deployment models have changed a lot over the years- brief overview here
Most enterprises have either migrated or in the process of migrating applications to a micro-services/containerized architecture. Docker is an important piece of this architecture puzzle.
So, what is docker? From https://docs.docker.com/get-started/overview/
"Docker is an open platform for developing, shipping, and running applications. Docker enables you to separate your applications from your infrastructure so you can deliver software quickly. With Docker, you can manage your infrastructure in the same ways you manage your applications. By taking advantage of Docker’s methodologies for shipping, testing, and deploying code quickly, you can significantly reduce the delay between writing code and running it in production."
Let’s get started and see if Docker lives up to its promise :)
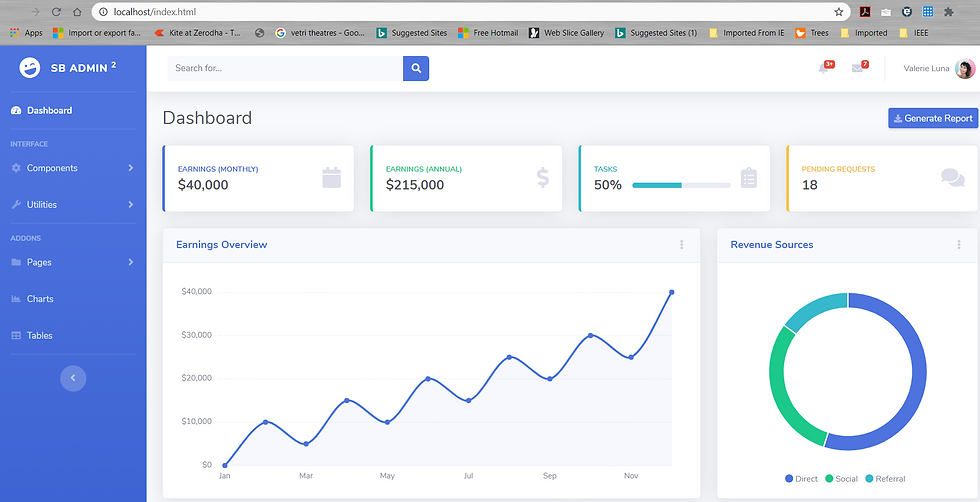
If we get things right, we should be able to deploy a website like this with a single command.
Installing Docker
If you have Windows 10 Pro/Enterprise, the simplest way to experience docker is to install Docker Desktop- that is what I use.
Note for VirtualBox users: Docker Desktop uses Hyper V for running a docker VM. Hyper-V does not play nice with some features of VirtualBox. The choice you must make is to either run docker with VirtualBox or migrate your VMs to Hyper-V.
Checking your install
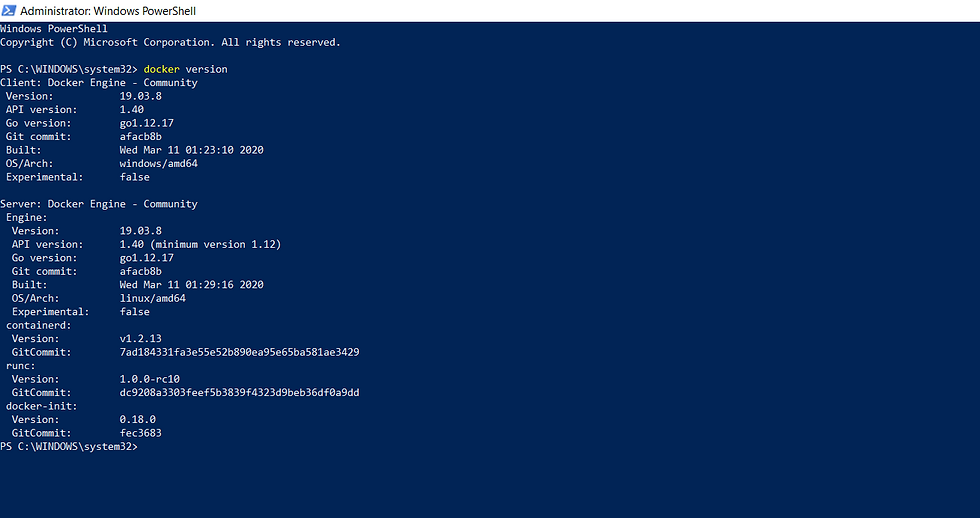
If things worked right, you should be able to open a command-line window (PowerShell in case of windows 10) and type the docker version command.

Starting your first container
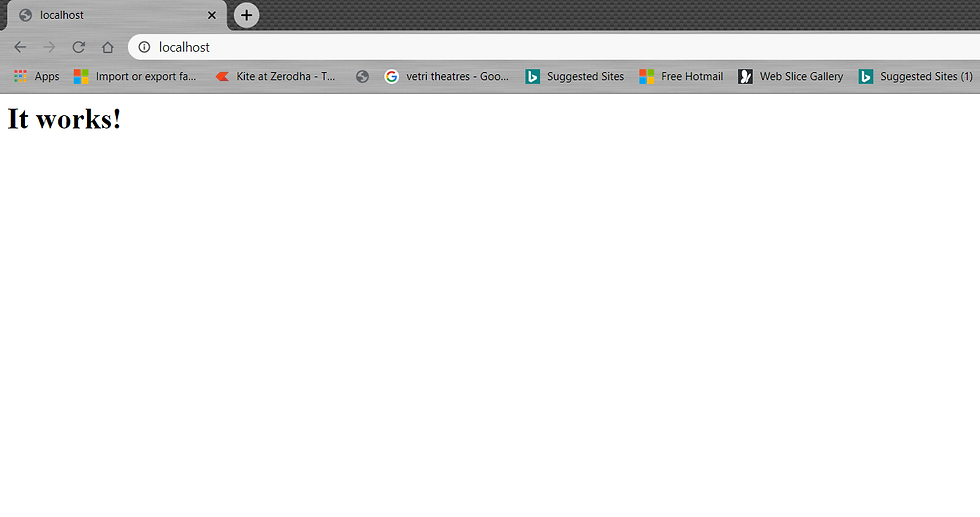
Let’s start an apache webserver from power shell
PS C:\WINDOWS\system32>docker run -detach --name web -p 80:80 httpd
7e24be4e4af43bcde74d816bb884933bbc33663f9391f9369b4686d2dc68c50a
And voila, we have a webserver running!!

Docker run command- Behind the scenes
"docker run -detach --name web -p 80:80 httpd"
detach: This tells docker to run this container "like" a background process.
name: Docker assigns random names to containers if the name parameter is not specified. We named the container "web".
"-p": The first "80" is a port that is opened on the host where the container is running. Traffic received on this port gets forwarded to port "80" inside the container.
httpd: This tells docker which "image" to use. Docker automatically pulls the image from "Docker Hub" if the image is not available locally. Simply put, the docker hub is like an android play store where all images are hosted. You can create your own images and "push" them to the docker hub once you have a free account.
Let's stop the container and create one that hosts our uber cool website.

If you are following along, download the zip file located here and unzip it to a directory. It does not matter where you unzip it, you just need to ensure you are in that directory.
PS C:\web> docker container run -d --name mycoolsite -p 80:80 -v ${pwd}:/usr/local/apache2/htdocs/ httpdthe -v parameter tells docker to mount content of directory (in this case current working directory) to a directory within container (/usr/local/apache2/htdocs/). There you go- our cool website is up and running!!

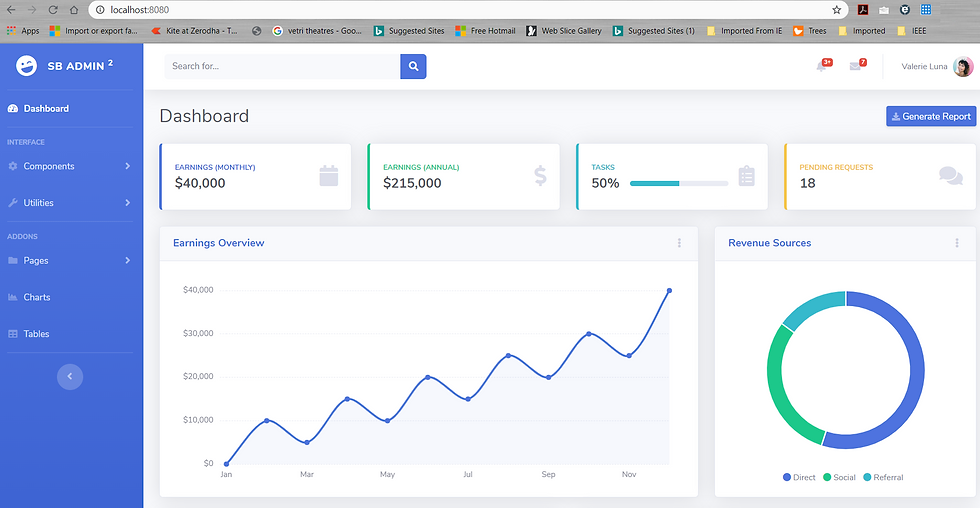
Let's do one final thing- Let's check out how if the same website works on Nginx (running on port 8080)
PS C:\web> docker container run -d --name mycoolsite -p 80:80 -v ${pwd}:/usr/local/apache2/htdocs/ httpd
750776519f289a816d96918c5b990b731ad9a852cb6429e25162b9801139064c
PS C:\web> docker container run -d --name mycoolsite2 -p 8080:80 -v ${pwd}:/usr/share/nginx/html:ro nginx
35f0dcaa90f9629c350820167a4fcb2a1c69f7d515b26b284753b0c2482d33ee
Now we have 2 web servers serving the same content on different ports- running on the same machine. All, this possible with simple commands. That, my friends, is the true power of Docker!!


Comments