Docker- Getting things done with Dockerfile and images.
- Sathish Kumar
- Jul 19, 2020
- 2 min read
Updated: Jan 15, 2021
Over the years, application deployment models have evolved from running it on baremetal servers to containerizing them. Docker makes it easier for programmers to focus on actual work and not worry about deployment options. In the docker world, a single command could be used to deploy a full website without having to worry about installing an operating system or server software. In this article, we saw how to deploy a simple web-server with a single docker command. What I really did was, used a named mount (-v option) to share the contents of a directory to the container (Apache server). In this article, I will show you how to build your own docker image with customized content.
So, what's a docker image? From Docker Image specification :
"An Image is an ordered collection of root file-system changes and the corresponding execution parameters for use within a container runtime. This specification outlines the format of these file-system changes and corresponding parameters and describes how to create and use them for use with a container runtime and execution tool."
In simple terms, an image is the collection of application executables, dependencies, and instructions (metadata) on how to run the process. Images are stored in Docker Hub and retrieved when you execute the "docker run". Docker hub is like a "play store" for docker images, you could find an "image" for almost any application in use.
Docker images are made up of multiple layers- each layer behaves like an instruction that tells Docker to do something. All layers, except the top one in an image, are read-only. You can read more about this in official Docker documentation for storage drivers. "docker history"

Dockerfile is a specification template that allows users to build custom images and push the same to the docker hub.
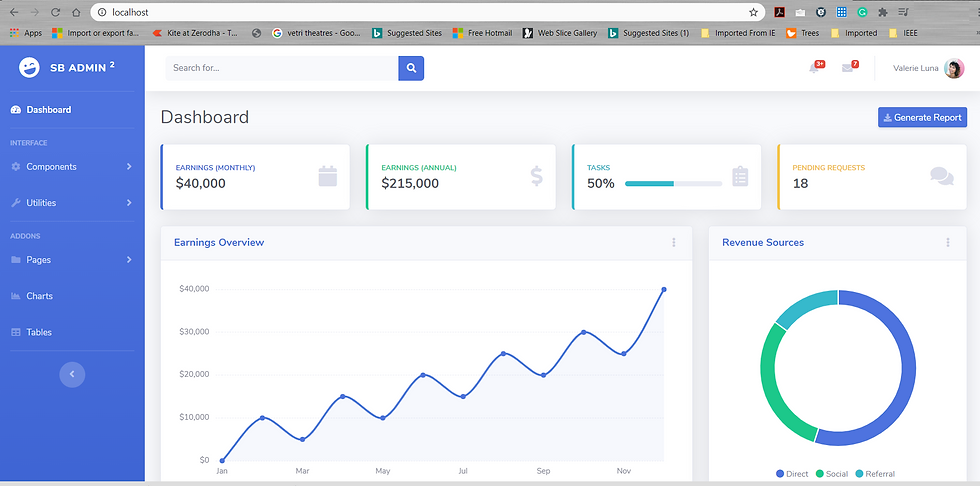
Let's build a "mycoolwebsite" container using httpd (Apache) as a base image. Before we start let's download the cool bootstrap template that we are going to use as a website. You can find the template here. You can use any .html file(s) if you do not like the template. Once the template is downloaded, unzip it and change to the directory where it's unzipped. This is the directory we are going to use to create "mycoolwebsite" container.
A template of docker file required for httpd is listed in https://hub.docker.com/_/httpd
I am going to use that as a baseline and create the Dockerfile.
Dockerfile (I unzipped the bootstrap template to c:\web\content)
FROM httpd:2.4
COPY ./content/ /usr/local/apache2/htdocs/
Building "mycoolwebsite" image
PS C:\web> docker build -t mycoolwebsite .
Sending build context to Docker daemon  18.68MB
Step 1/2 : FROM httpd:2.4
2.4: Pulling from library/httpd
8559a31e96f4: Pull complete
bd517d441028: Pull complete
f67007e59c3c: Pull complete
83c578481926: Pull complete
f3cbcb88690d: Pull complete
Digest: sha256:387f896f9b6867c7fa543f7d1a686b0ebe777ed13f6f11efc8b94bec743a1e51
Status: Downloaded newer image for httpd:2.4
 ---> ccbcea8a6757
Step 2/2 : COPY ./content/* /usr/local/apache2/htdocs/
 ---> b7ebde590cb9
Successfully built b7ebde590cb9
Successfully tagged mycoolwebsite:latest
Let's test it out by running the image
PS C:\web> docker run --name coolsite1 -d -p 80:80 mycoolwebsite
46d56aea330592a5e024297ad0147c1a27940825bbf664681860a54e9da4ec3d
And it works!!!

Dockerfile Reference:


Comments